Create a folder
- Open Cases.
- Tap in the top toolbar.
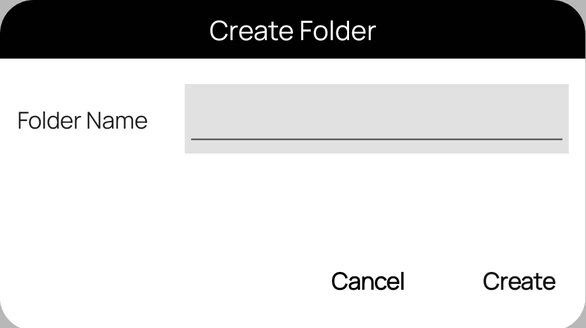
- In Create Folder, enter a Folder Name and tap Create.
Use the Filter cases … box at the top of Cases to find a case by case number or party name across all folders.
Find cases across folders
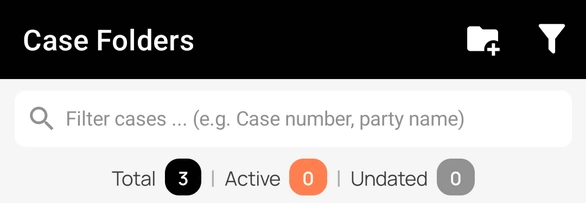
The top of Cases shows the filter box, the Filter action, and the Total, Active, and Undated case counts for all your folders.
Rename or delete a folder
- Press and hold the folder until it is selected.
- To rename, select one folder, tap , change the name, and save.
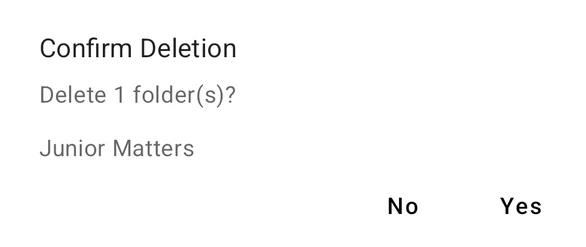
- To delete, tap . Confirm Deletion lists the folders; tap Yes to delete them.
Shared folders: only a folder admin can rename a shared folder. Others see "Only Admins are allowed to rename this list."
Move cases to another folder
- Open the folder and press and hold a case to select it. Tap other cases to add them, or tap to select all.
- Tap in the top toolbar.
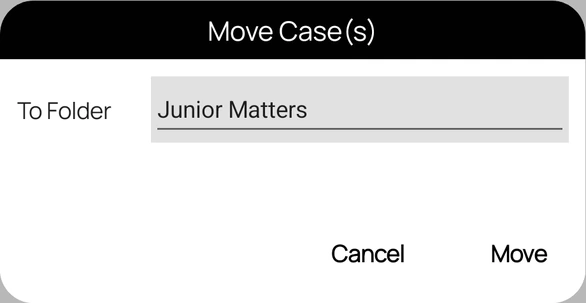
- In Move Case(s), choose the destination under To Folder and tap Move.
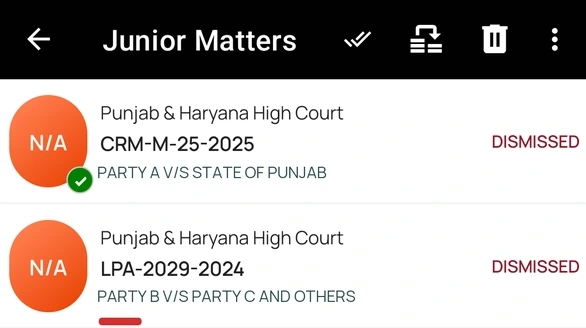
Choose the folder, then tap Move. If you tap Move without selecting a case, you will see "No case selected to move."